Start with Sites
Get started quickly with revenexx Storefronts. Follow a step-by-step guide to create your first revenexx Storefront and deploy a web app.
Start with Sites
You can create and execute your first revenexx Storefront in minutes.
Create site
Before deploying your web app with Git, create a new Site attached to your GitHub repository.
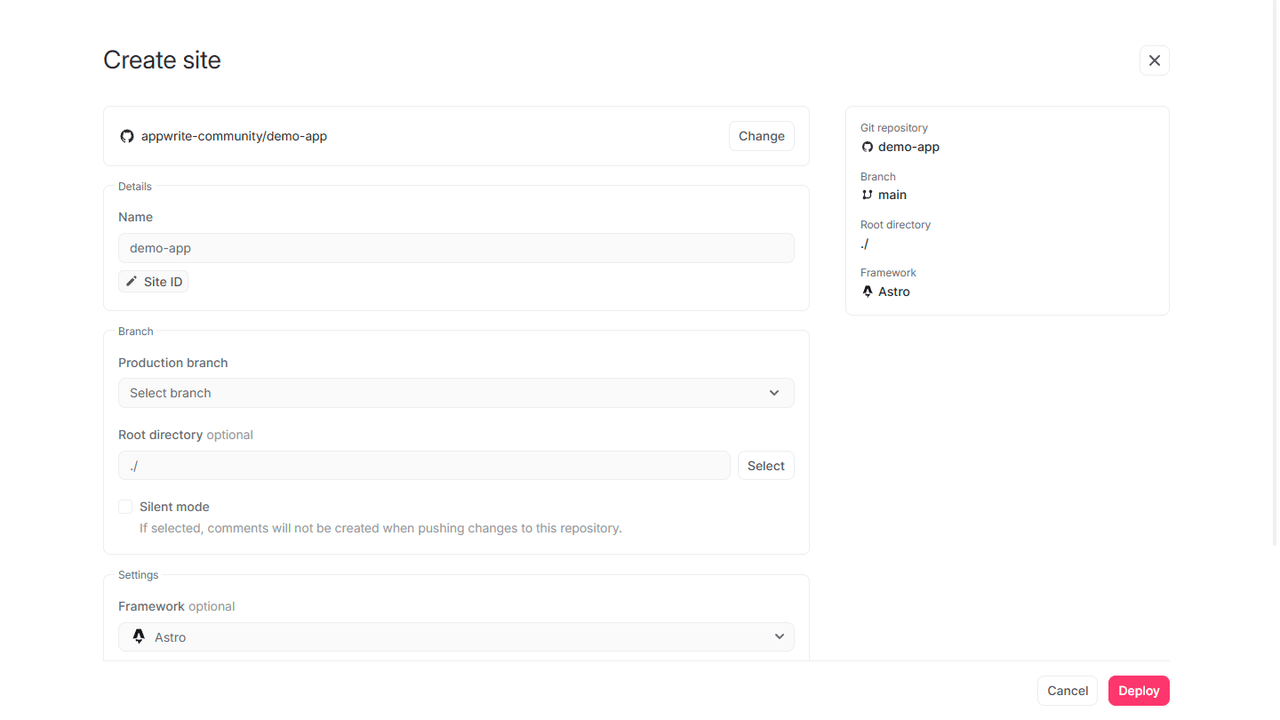
- In the revenexx Console's sidebar, click Sites.
- Click on the Create site button.
- After clicking on Connect Git repository, select your repository.
- After connecting to GitHub, (optionally) add a name and site ID.
- Verify that the correct framework is selected.
- Confirm the install command, build command, and output directory in the build settings. Visit your preferred framework quick-start to learn more.
- Add any environment variables required by the storefront.
- The site will be created, and a build will begin. Once the build is completed, you'll have created your first storefront. You can use your storefront's domain to access the deployment.
Framework quick-starts
Learn how to quickly setup a web app developed using any of the following frameworks and deploy it on revenexx Storefronts.
Explore
Use your first storefront as a springboard to explore the flexible and powerful features of revenexx Storefronts.
- Templates Get a template site up and running with a single click.
- Develop Learn about developing your own revenexx Storefront.
- Deploy Configure and deploy your revenexx Storefront from Git.
- Frameworks Learn which frameworks are supported by revenexx Storefronts.